Flute Calculator gadget for VCarve and Aspire
Paste the design code from the calculator and the gadget draws both halves of your flute, split down the middle and laid out as side views, then makes every toolpath with sensible default bits.
Download the gadget (.vgadget) Download as .zip
Version 1.1. For VCarve Pro and Aspire. Free for anyone to use.
New in 1.1: the gadget now creates every cut. Version 1.0 left out the air-path pocket (exit hole, flue and sound hole), the pin holes, the direction holes and the outline. The outline is now cut through with tabs, the clamping margin stays bare wood, and the bore is smoother. If you installed 1.0, install this one over it.
Install
- In VCarve or Aspire, choose Gadgets › Install Gadget and pick the
.vgadgetfile. (With the .zip, copy the "Flute Calculator Layout" folder into your Vectric Gadgets folder and restart.) - It now appears in the Gadgets menu.
Use
- Design your flute in the calculator and click Copy code for VCarve.
- Make a new job the size of the board shown in the calculator's Take it to the shop card (it includes a 1" clamping margin). Set the material thickness to the thickness shown there, and Z zero on the material surface.
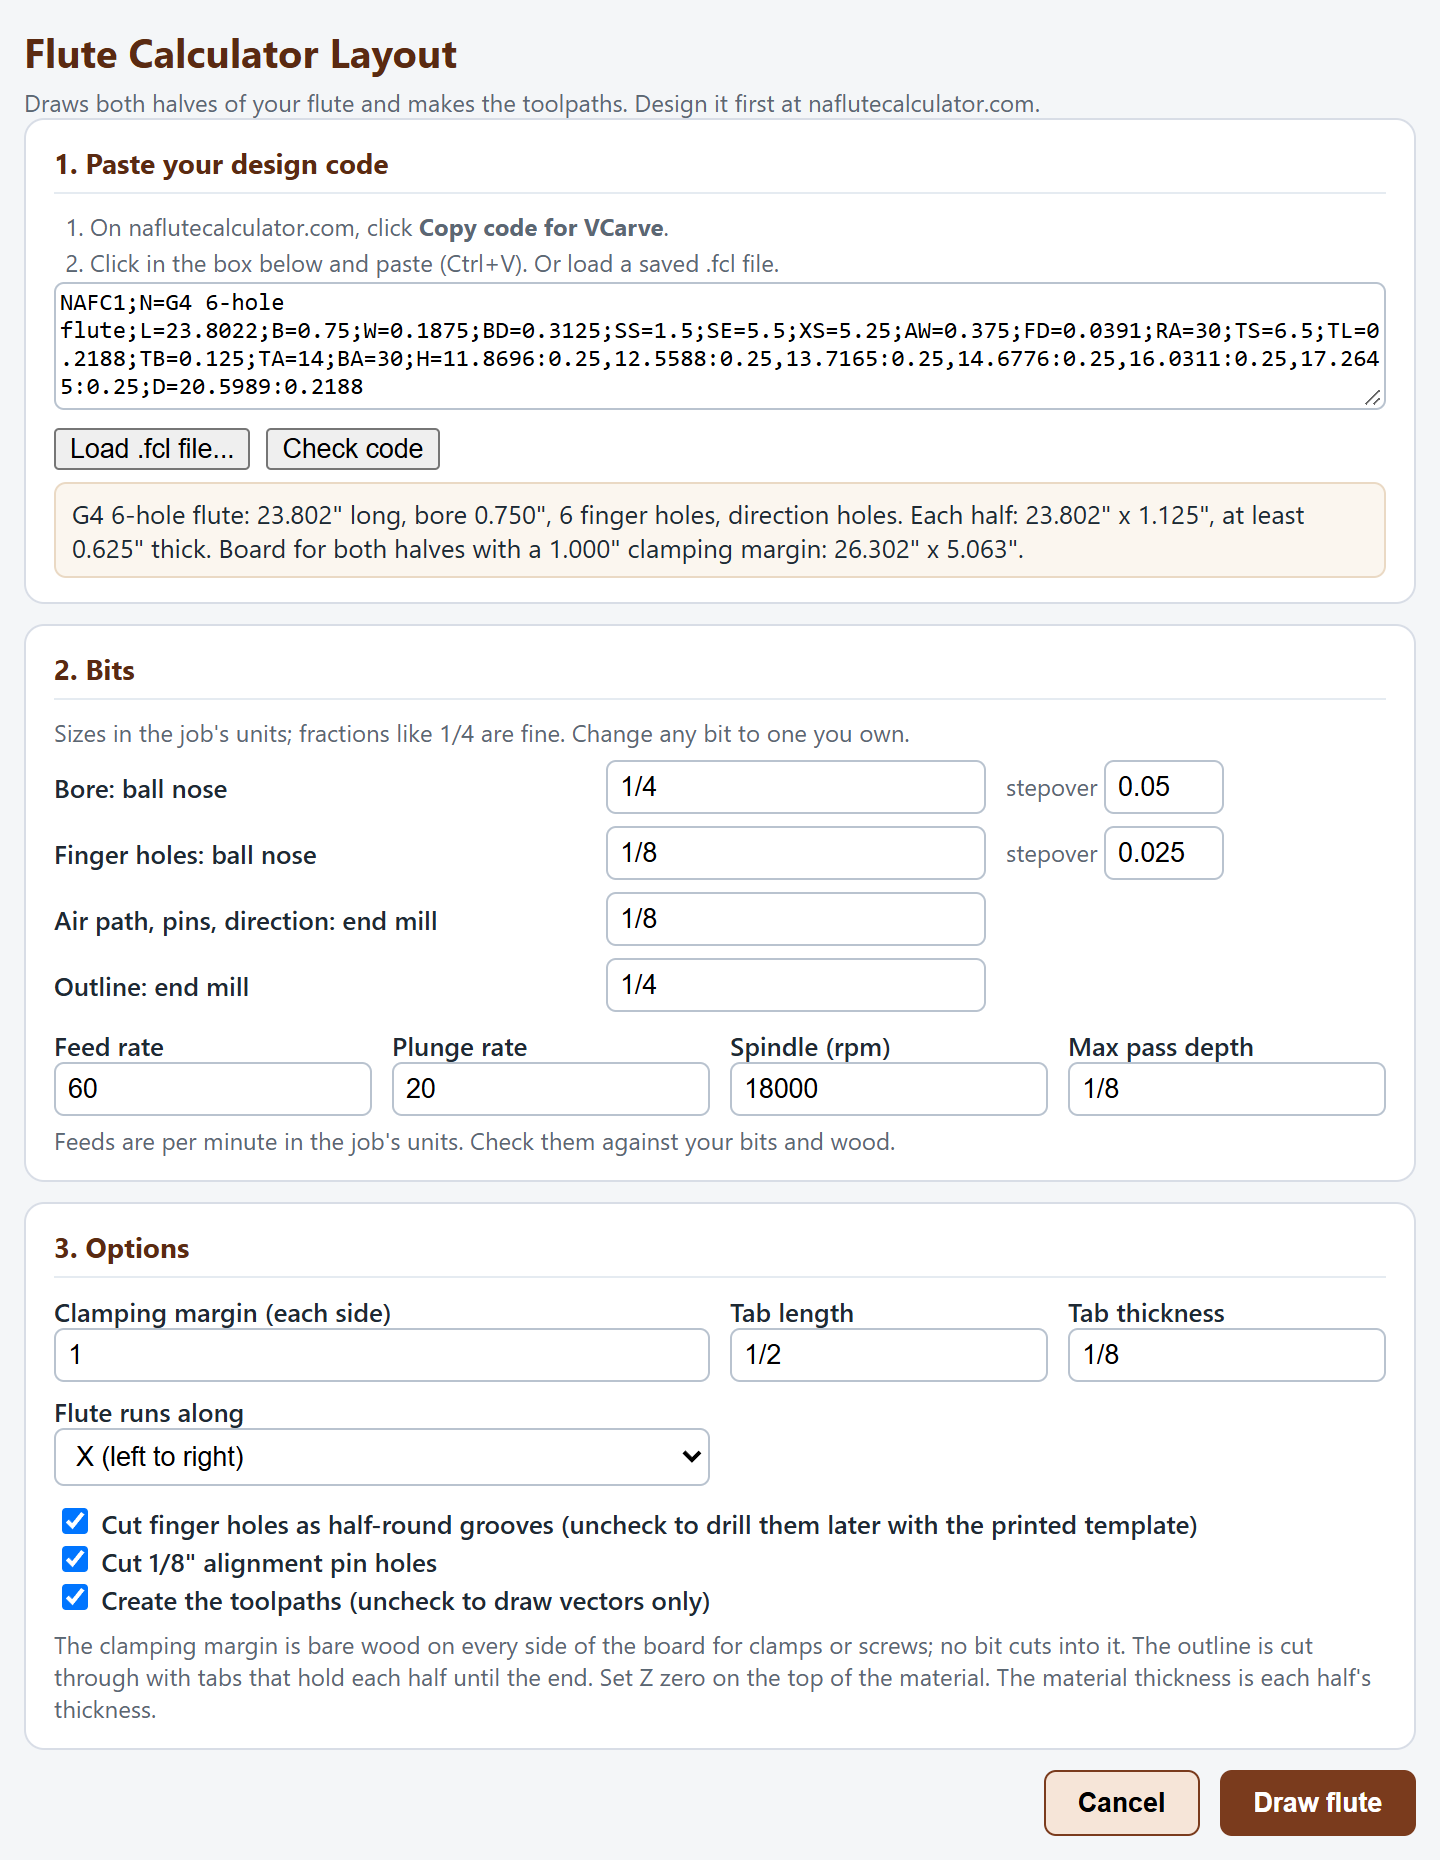
- Run Flute Calculator Layout, paste the code, check the bits and feeds, and click Draw flute.
- Preview the toolpaths, then save them for your machine.
The full walkthrough, with glue-up and tuning, is in Cutting a flute with VCarve.
What it makes
| Cut | Default bit | How |
|---|---|---|
| Bore (both chambers) | 1/4" ball nose | Passes spaced evenly around the curve, each just touching the true half circle, leaving ridges of about 0.002". Any ball nose up to the bore size works; the stepover is the spacing along the bore's surface. |
| Breath hole | 1/4" ball nose | Same way, smaller circle. |
| Finger and thumb holes | 1/8" ball nose | Half-round grooves at the starting size. Glued up, they make round holes you open up to tune. |
| Air path | 1/8" end mill | One pocket: exit hole, ramp, flue, sound hole and splitting edge, with the angles from your design. |
| Alignment pins | 1/8" end mill | Three short holes per half for 1/8" pins. |
| Direction holes | 1/8" end mill | Through each half, one per side. |
| Outline | 1/4" end mill | Cut through, last, with tabs along each half's outer edge and both ends so the halves stay put. Set the tab length and thickness in the dialog. Afterward, cut the tabs and sand the stubs flush. |
Feeds and speeds are starting values; set them for your machine and wood. The gadget remembers your bits for next time, separately for inch and metric jobs. Sizes can be typed as decimals, fractions (1/4) or with units (6.35 mm).
Options
- Clamping margin: bare wood left on every side of the board for clamps or screws; no bit cuts into it. The default is 1" (25 mm in a metric job). If the job is too small for the parts plus the margin, the gadget says how big it needs to be.
- Tab length and thickness: the tabs that hold each half in the board until the outline is finished. Defaults are 1/2" long and 1/8" thick.
- Flute runs along: lay the halves along the job's X or Y axis.
- Cut finger holes: uncheck to drill the holes after glue-up with the printed template.
- Create the toolpaths: uncheck to draw the vectors only.
Everything goes on layers whose names start with "Flute". Running the gadget again in the same job adds a new set; its toolpaths use only the new vectors.
Not using VCarve?
The calculator also downloads both halves as SVG and DXF, full size, on named layers, for any CAD or CAM program.